





Installation guide
How to weave privacy strips correctly.
Work one fence panel at a time, cut neatly and avoid unnecessary tension on the posts. This sequence keeps installation controlled.
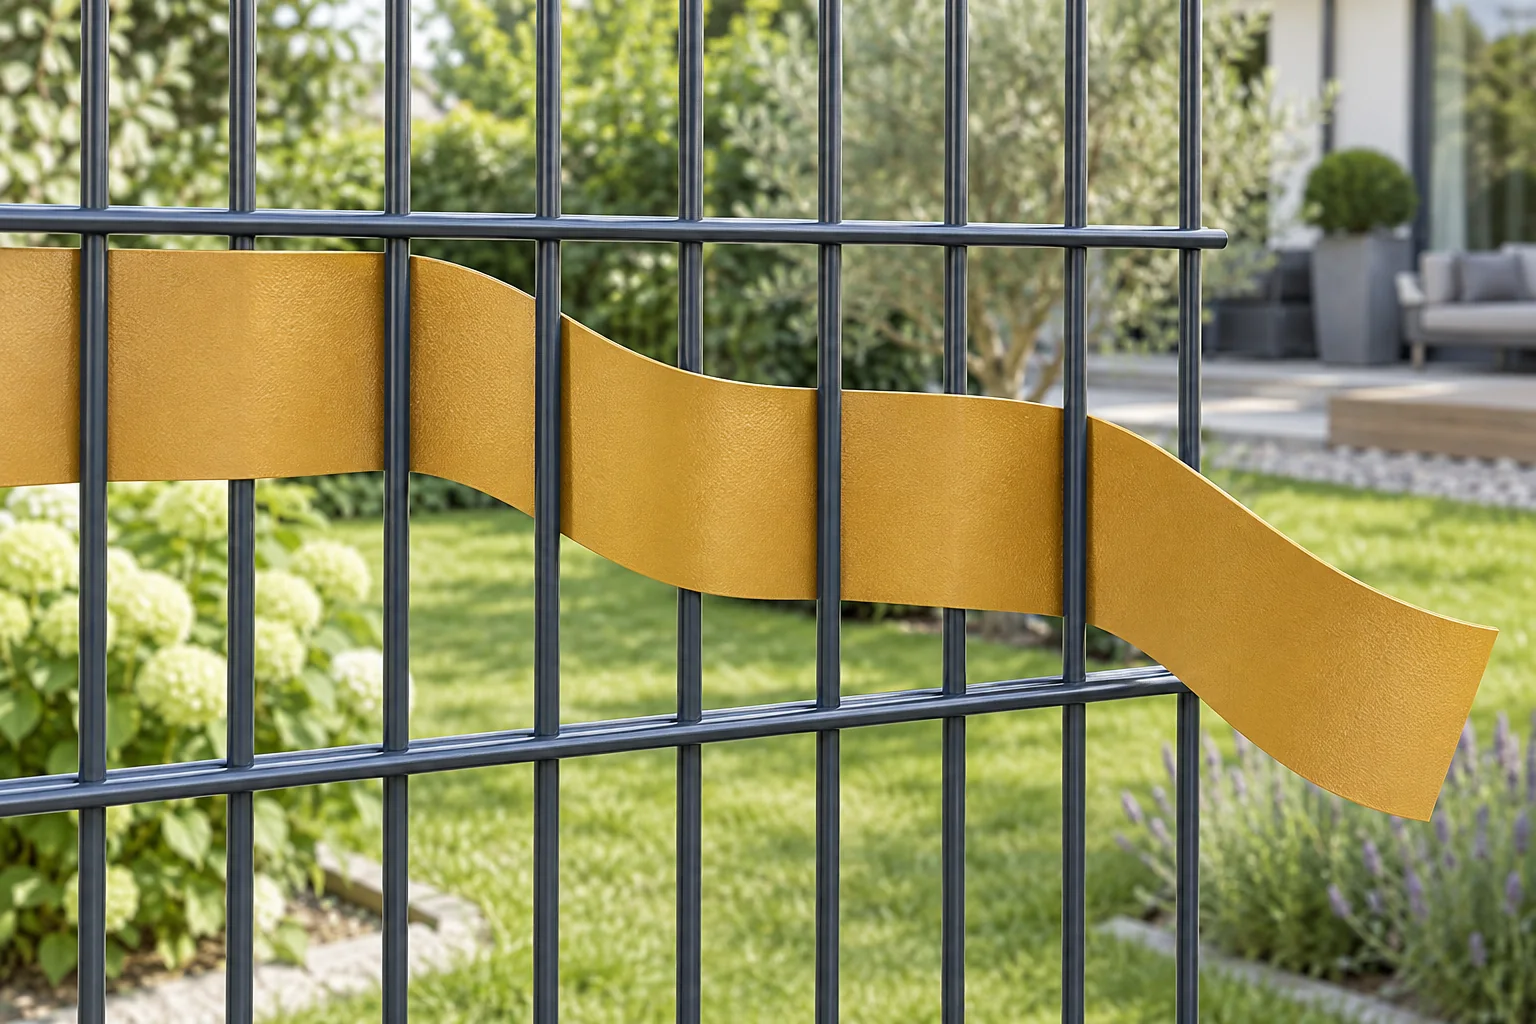 Product image partially AI-generated
Before you begin
The fence must be secure.
Only weave the strips once posts, panels and gates are fully installed and the concrete has cured in accordance with the manufacturer’s instructions. Weaving applies pulling forces to the fence, so a filled panel should no longer be installed or aligned.
Step by step
From the first measurement to the finished result.
Work panel by panel. This makes alignment easier and prevents long sections from twisting or becoming dirty.
- 01
Measure the fence panel
Measure the usable width between the outer vertical bars or intended fastening points. For special panels, gates and shortened mesh, do not rely solely on nominal dimensions.
- 02
Cut the strip to size
Transfer the measurement to the strip. Use the first correct cut as a template for the other rows in the same panel. Cut on a stable surface and never against your hand, the fence coating or a post.
- 03
Choose the weaving rhythm
Before completing the first row, decide whether the strip should alternate at every bar or every two bars, for example. Test a short section and inspect both sides.
Weaving patterns vergleichen → - 04
Weave alternately
Start at the outer vertical bar and guide the strip without creasing, alternating in front of and behind the bars. Work section by section instead of pulling the whole strip forcefully through the panel.
- 05
Align and distribute tension
Align the strip across the full panel width. It should lie flat without being stretched so tightly that it bows, stresses the edges or pulls on the posts and mesh.
- 06
Secure the ends neatly
Finish the strip at the intended bar. Use clips only when they suit the strip and mesh type or are specified in the product information. Some dimensionally stable strips require no additional fastening.
Tore & besondere panels
Jedes Feld separat behandeln.
Doors and gates
Measure each row individually on an installed gate. Keep sufficient clearance from locks, latches, hinges and moving parts. The gate must open and close freely after installation.
Motif and décor strips
Lay out the rows in the correct order before weaving. Check cut marks, motif joins and the preferred viewing side; printed fronts and backs may differ.
roll material
Wherever possible, cut roll material for each fence panel. A very long strip pulled through several panels is harder to guide and usually more difficult to finish neatly at the posts.
Avoid common mistakes
Controlled work is better than force.
- Installed too early: New foundations can be stressed by pulling on the posts.
- Cut too long: Compressed ends bow and do not create a neat finish.
- Pulled too tightly: The material and fence are subjected to unnecessary stress.
- Incorrect clips: Always match the fastening to the strip, material thickness and mesh panel.
- Wind load overlooked: A filled fence catches considerably more wind; posts, foundations and the location must be suitable.
Materialbedarf schon berechnet?
The calculator determines the number of strips, linear metres and rolls for standard panels.